If you love your garden but find it too much work, these low maintenance gardening tips are for you. From choosing drought-resistant plants to optimal soil nutrients to using the right tools, there are many things you can do to reduce the amount of time and effort it takes to maintain your yard.
Anyone who knows me, knows that I love my garden. It’s the perfect place to entertain, play with the dog, or just sit and read a book.
What I don’t love (or have time for) is all of the work that can come along with it.
Which is why I try to have the most low maintenance garden possible.
Over the years I have learned a few things about what works and what doesn’t.
So in case you’re also looking to reduce the amount of time you spend working in your yard, here are my tips for creating a low maintenance garden.
1 | Pay Attention To Plant Size
This post may contain affiliate links. We make a small commission if you buy the products from these links (at no extra cost to you). As an Amazon Associate, I earn from qualifying purchases. But we only recommend products we would use ourselves. For more information, click here to see our disclosures.
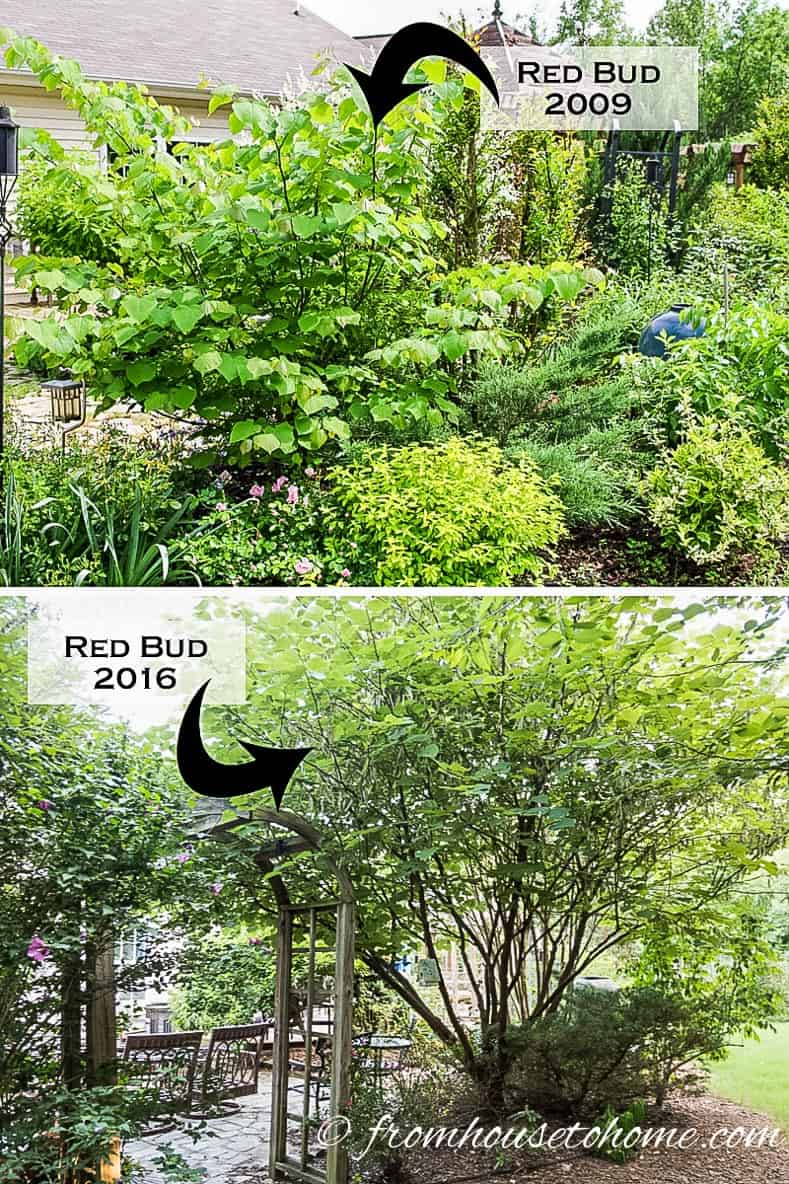
I’m sure I’m not the only gardener that has had this problem at some point in their gardening experience.
You buy some plants when they are little and plant them fairly close together because the garden looks too bare with all of those little plants.
Then a few years later, you have to dig up half of those plants and move them somewhere else because they are too crowded.
And what used to be a sunny border may now be a shady nook.
Which probably means a lot of the plants that are left are no longer suited for the space.
If you don’t want to do that extra work of digging plants up and moving them, pay attention to the plant size on the label.
Make sure to leave enough space around the plants for their future size when you put them in the ground.
If the label says the plant will be 6′ wide, that means it will need 3′ on all sides of it.
If you don’t like all that bare ground, try filling up the spaces temporarily by planting some annuals or installing some move-able garden art.
Also if you’re gardening in a small space, dwarf varieties of bushes and trees are usually your best bet. They won’t require a lot of pruning to keep them the right size.
2 | Use A Lot Of Bushes And Trees
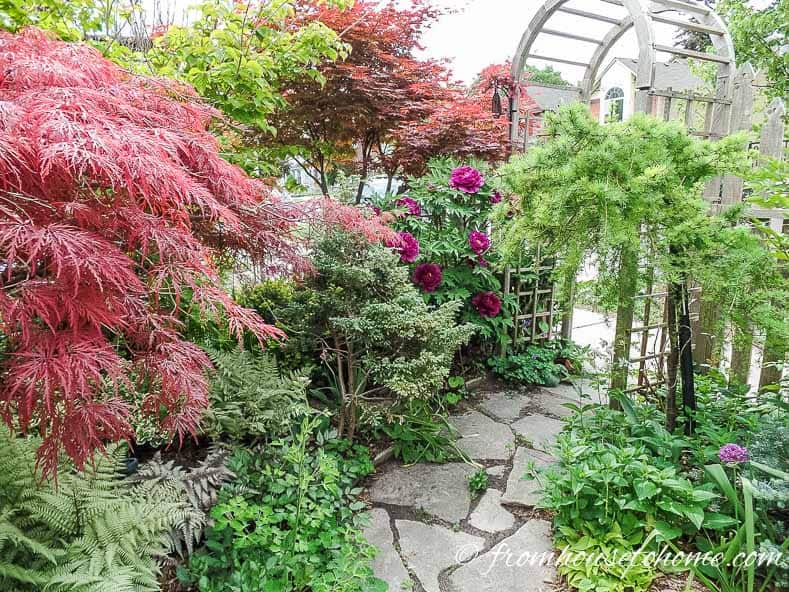
Bushes and trees come in all kinds of shapes and sizes with all different colors of flowers and leaves.
By planting different sizes of bushes together, you can create planting layers that give your garden a lush look in the summer.
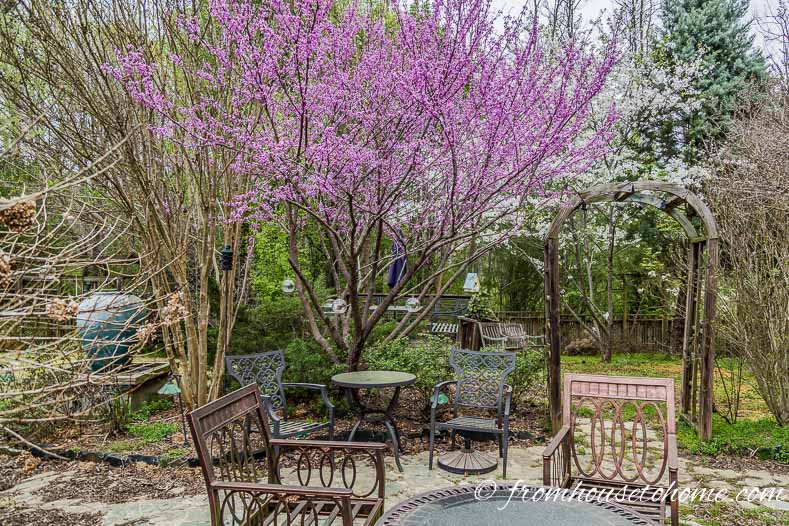
Since most of them don’t die back to the ground, they continue to provide some structure in the winter.
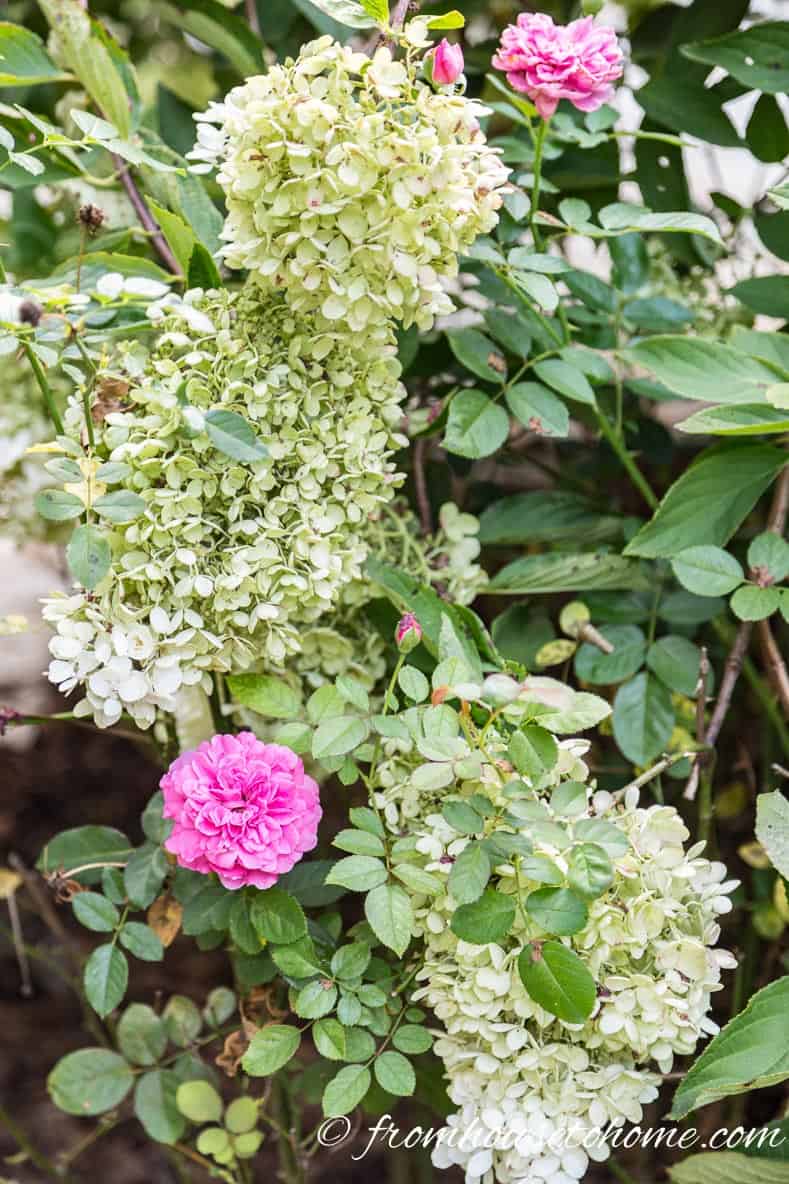
Most bushes live for many years and don’t take a lot of work to keep them looking good…perfect low maintenance plants!
Just make sure to keep the last two tips in mind when you are choosing the bushes to plant.
Buying ones that don’t suit your location, or are going to be too big for your spot will lead to more work in the future.
3 | Plant Native Plants
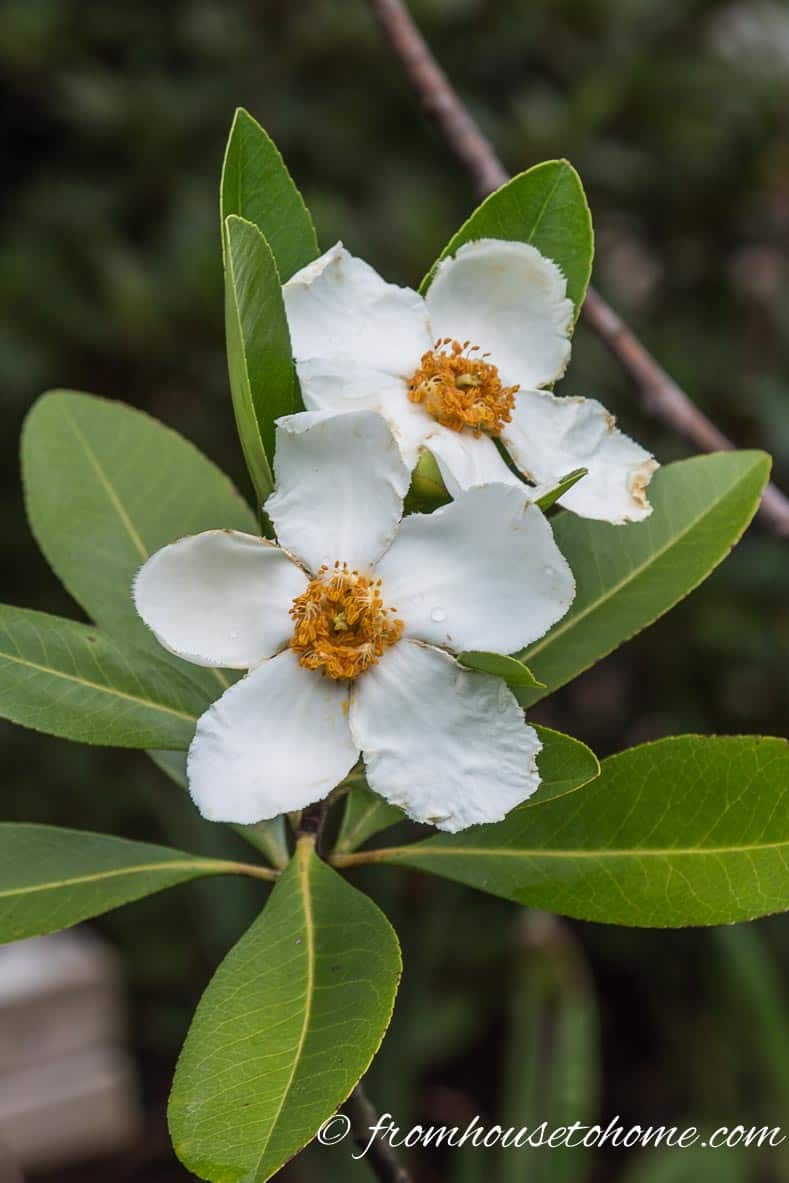
Native plants are the ones that grow naturally in your area.
Which means they usually require less watering and maintenance than other plants would.
They are available in many pretty colors. And many have been cultivated so they have more color options available but still have the native durability.
You can even help to keep some of the species that are endangered in the wild from becoming extinct (like the Benjamin Franklin Tree above).
If you want more information about native plants in your area, check out plantnative.org.
4 | Use Drought-Tolerant Plants
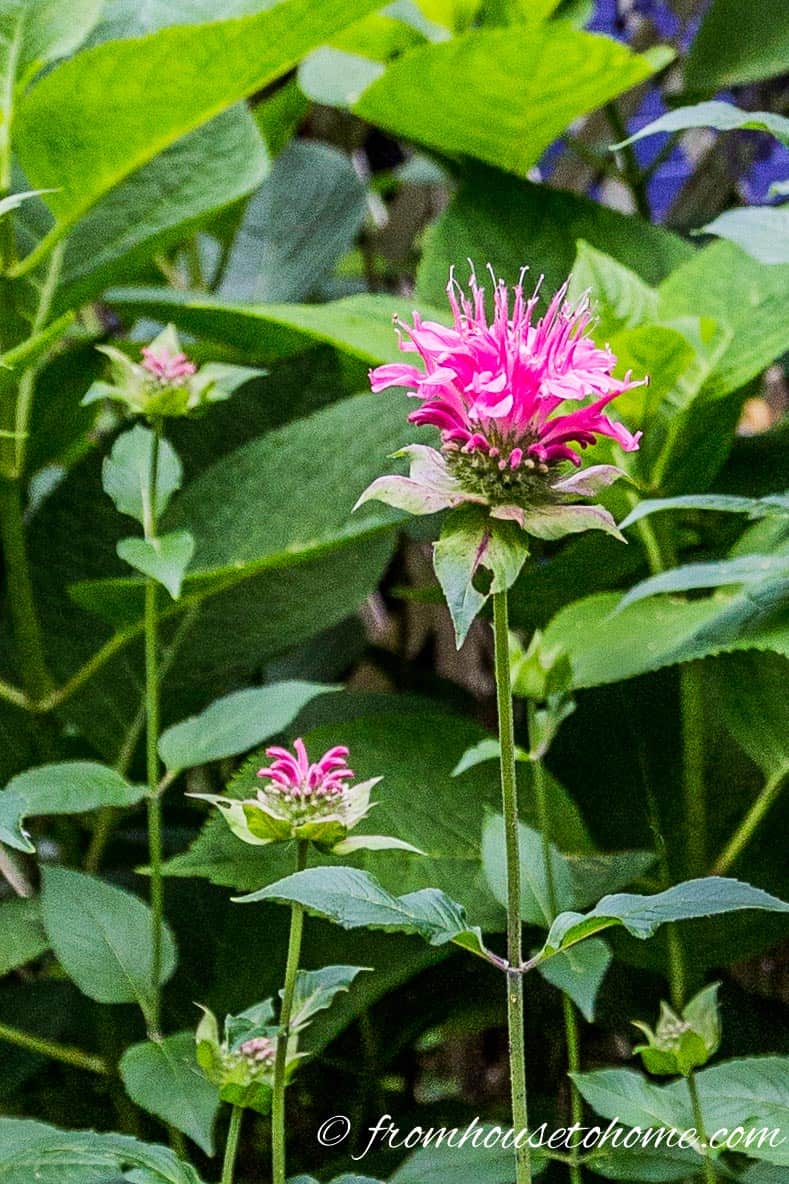
Along those lines, putting in plants that don’t require a lot of watering will save you time and money.
Many of them can go the whole summer without requiring water, especially after they are established in your garden.
See our list of drought-tolerant shade plants for some ideas.
5 | Buy Plants For Your Zone
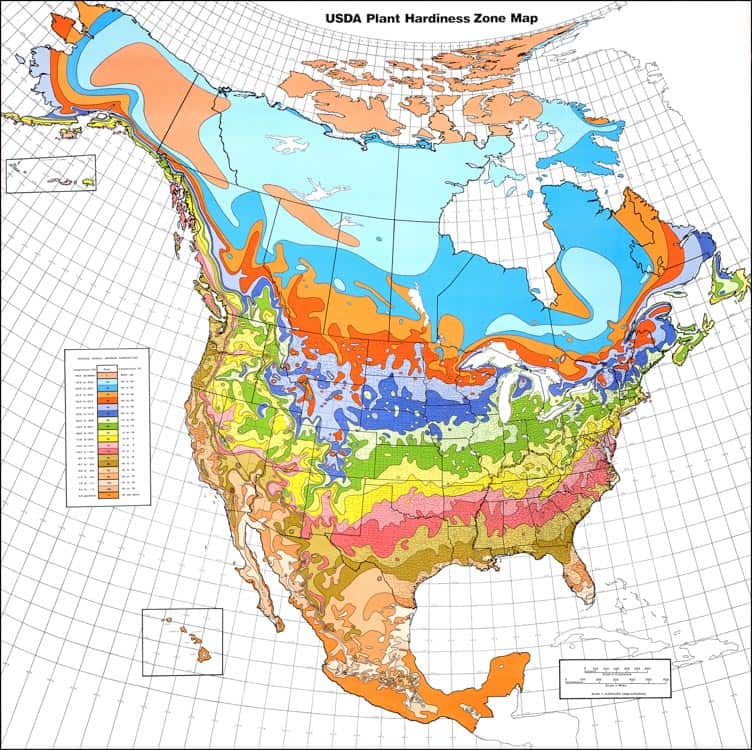
Another important thing to keep in mind is what gardening zone you live in.
Your zone is determined by your area’s low temperatures in the winter (and sometimes high temperatures in the summer.)
To look it up, find a gardening zones map for your area and then look up where you live to find the zone number.
You can find the U.S. zones here, the Canadian zones here and European zones here. If you live in an area that doesn’t have a gardening zones map, you can figure them out by looking at the temperature ranges listed with the maps.
Note that if you live in Canada, the zones are generally one higher than is listed on the USDA map. So if you are looking at an American plant site, their zone 5 is considered zone 6 in Canada.
The tag on most perennial plants, bushes or trees you buy will list the zones that it can survive in. And if it doesn’t a quick google search will tell you.
To create a low maintenance garden, buy plants that are supposed to grow in your zone.
If the plant has a range of zones, it’s better if your zone is in the middle of the range. These are the areas where the plants will be the easiest to grow.
6 | Pick The Right Plants For Your Location
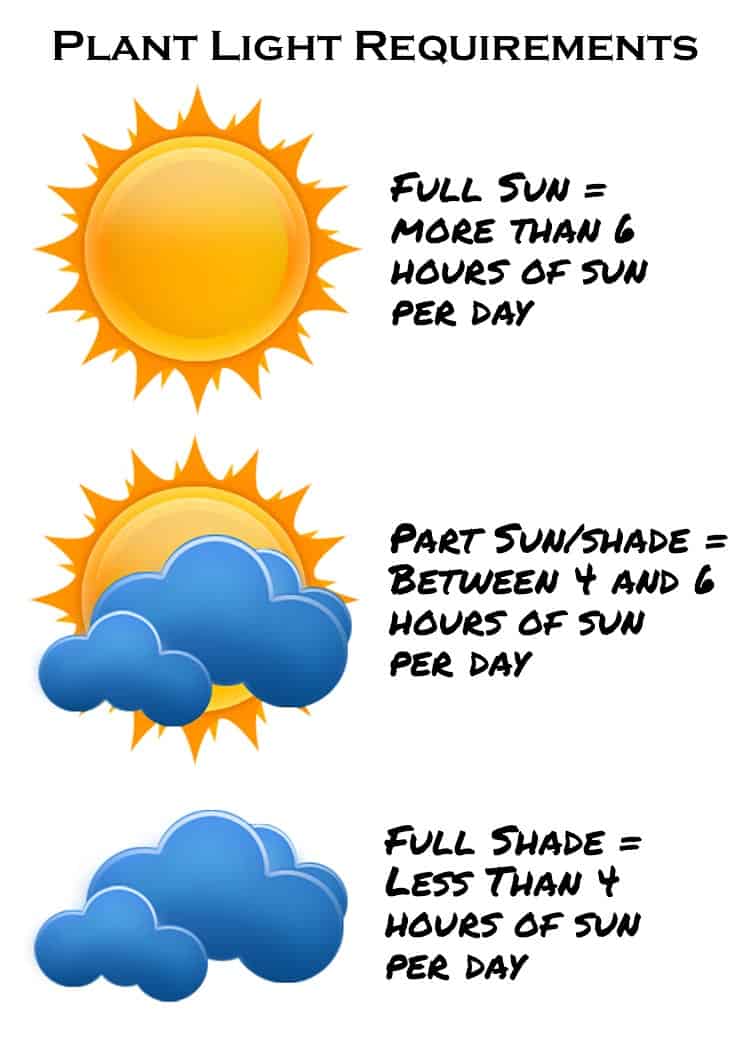
Before you buy anything, make sure you know where the plants are going to go, and what the conditions are in that spot.
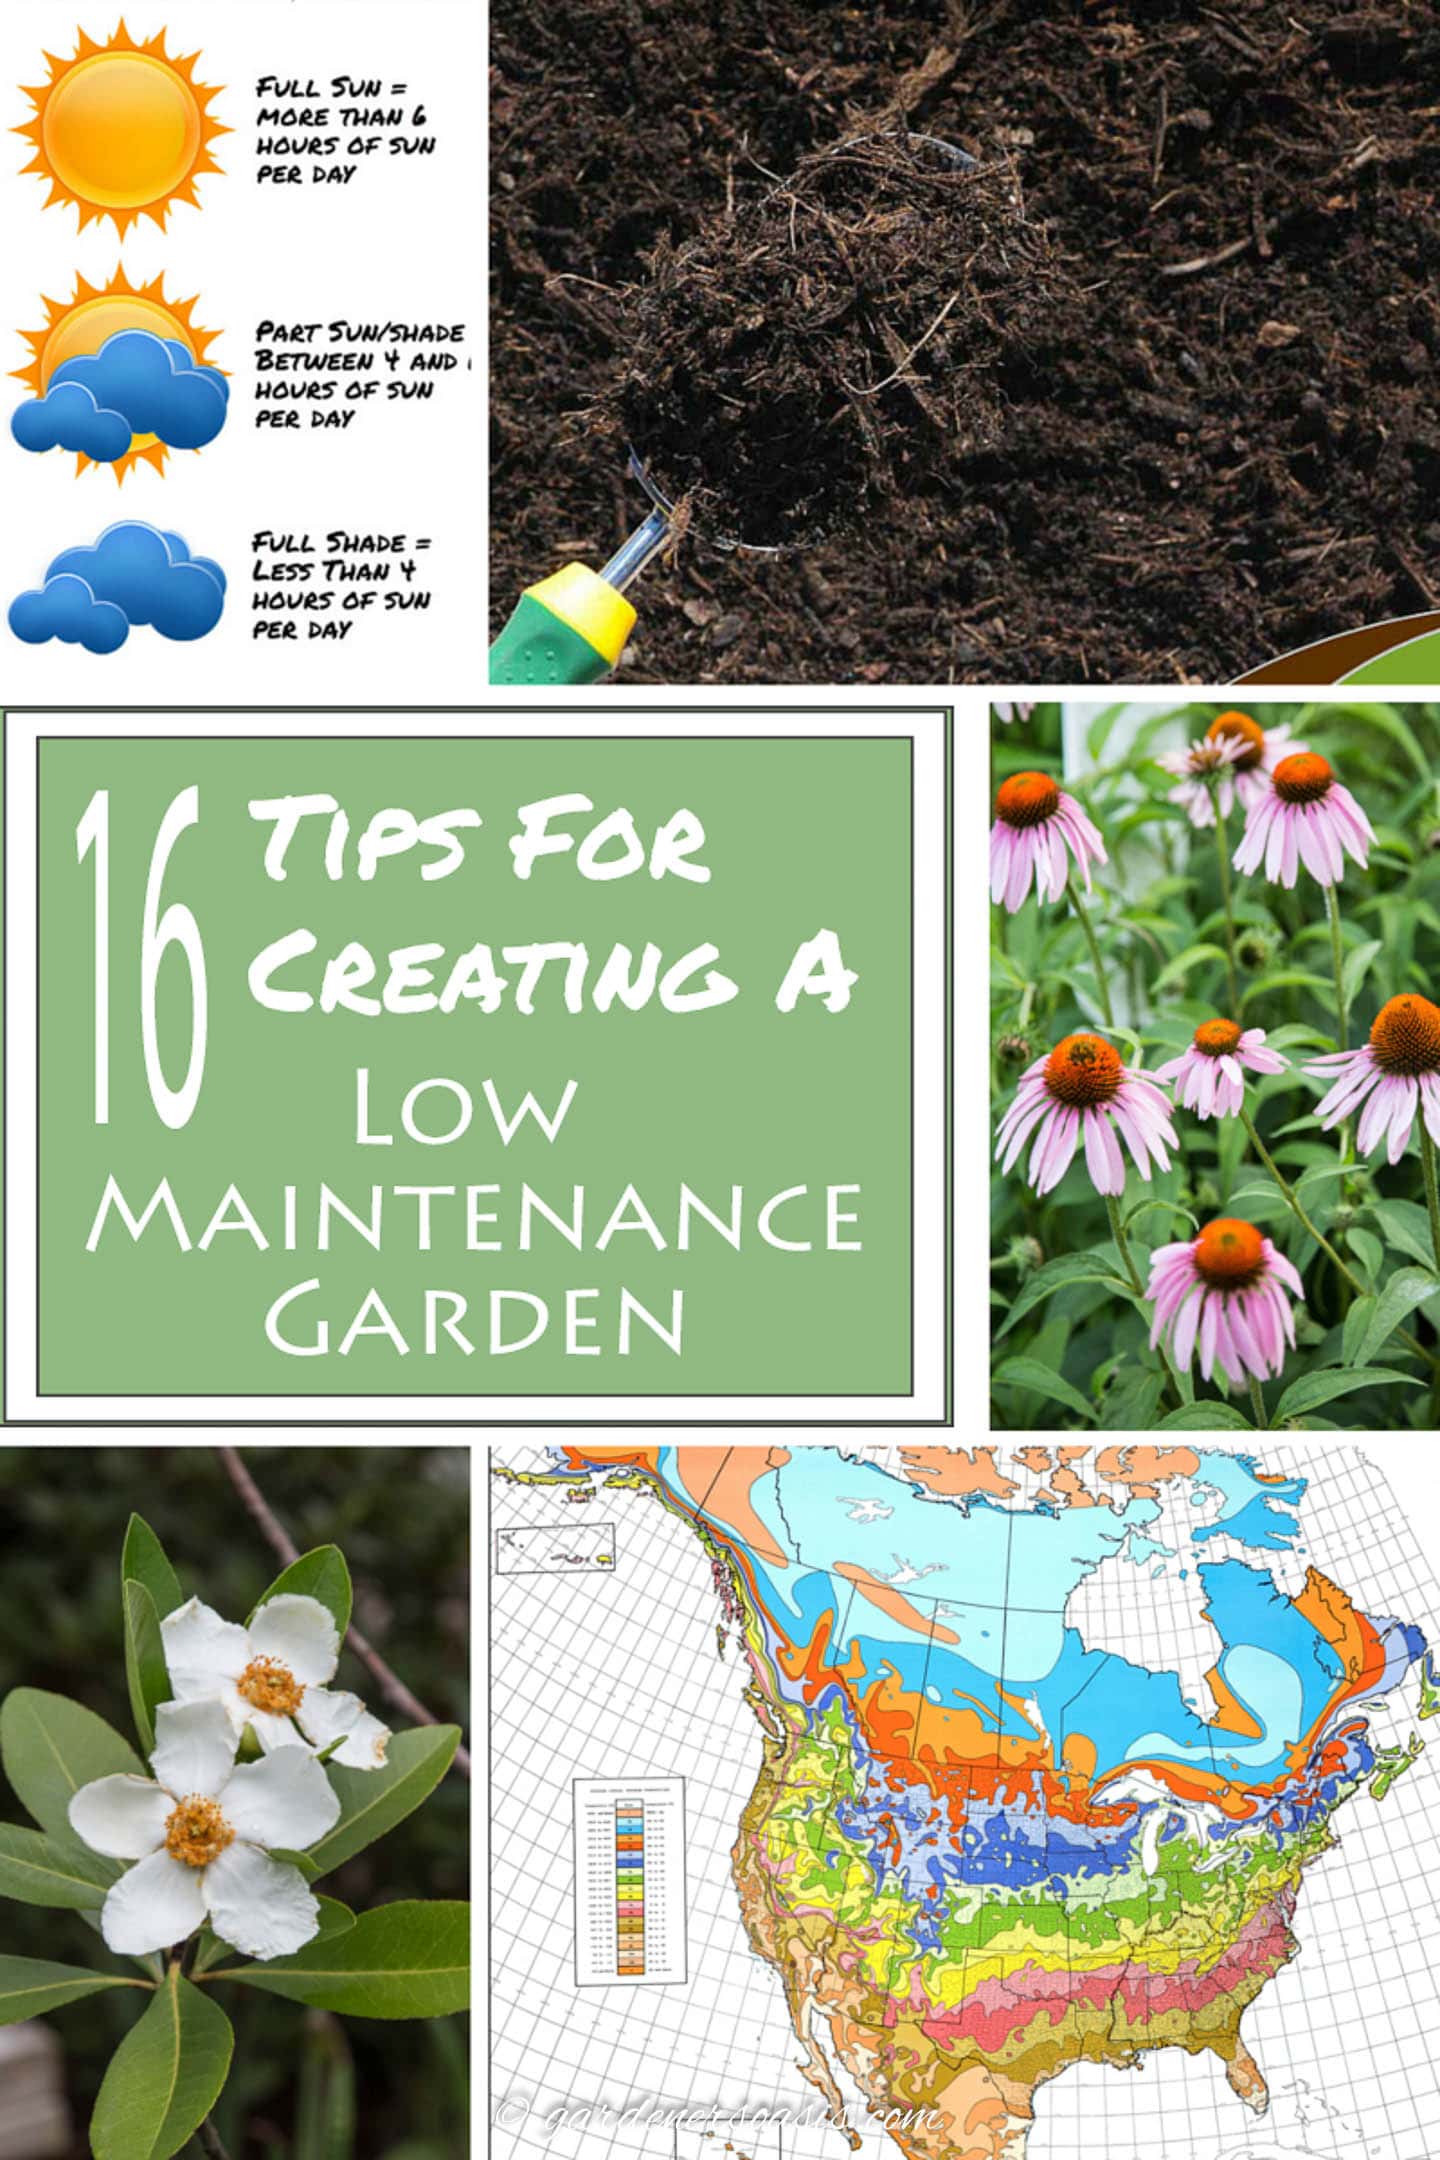
Is it a full sun or full shade spot? The rule of thumb is:
- More than 6 hours of sun a day is full sun.
- 4 – 6 hours of sun a day is part sun.
- Less than 4 hours of sun a day is full shade.
Does the soil in the location tend to be dry or wet? Many plants do better in one or the other.
Then look at the plant labels to make sure that what you are buying matches the conditions of your location.
7 | Amend The Soil
Unless you live in an area that has really good soil to begin with, amending it with organic matter before planting will make your plants healthier.
And healthy plants are more resistant to everything – diseases, drought, and pests.
If you are planting a whole garden bed, it works best to dig up the whole bed and then mix in compost, top soil and composted cow, horse, rabbit or chicken manure. (Not fresh manure which can contain bacteria, burn the plant roots, and often contains weed seeds).
Then depending on your soil pH and what types of plants you want to grow, you may need other additives such as peat moss (which will make your soil more acidic).
You can also use the same process for individual plants, but just amend the soil around the hole you are planting them in.
8 | Reduce Or Eliminate Your Lawn
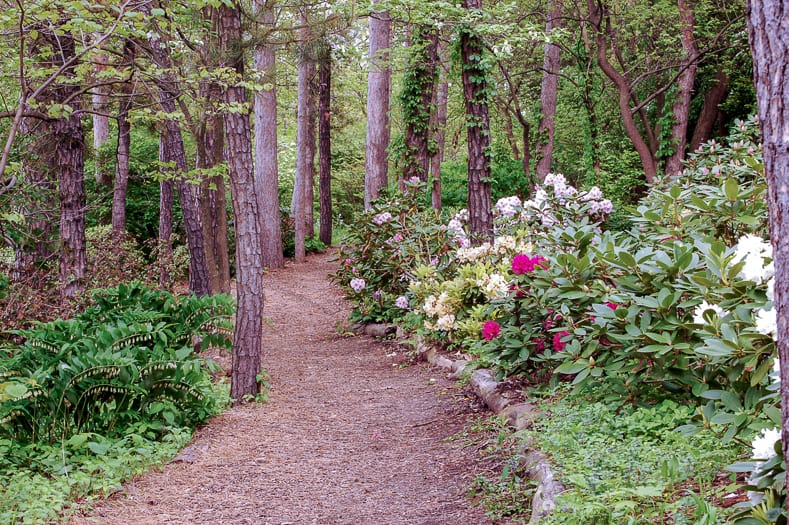
Maintaining a lawn is one of the most effort-intensive tasks there is in a yard.
Grass requires watering, fertilizing and mowing on a regular basis to help it look good.
For less work, consider replacing it with mulch, hardscape features (such as patios, decks or pathways) or hardy perennial groundcovers that can take foot traffic.
9 | Use Organic Fertilizers
Not only are organic fertilizers (such as compost and manure) better for the environment than chemical ones but they save you a lot of work, too.
They stay in the soil longer, take longer to break down (so you don’t have to apply them as often) and are better for the environment.
I apply a 2″ layer around my garden beds every couple of years. And that’s the only fertilizing I do.
10 | Get The Right Tools
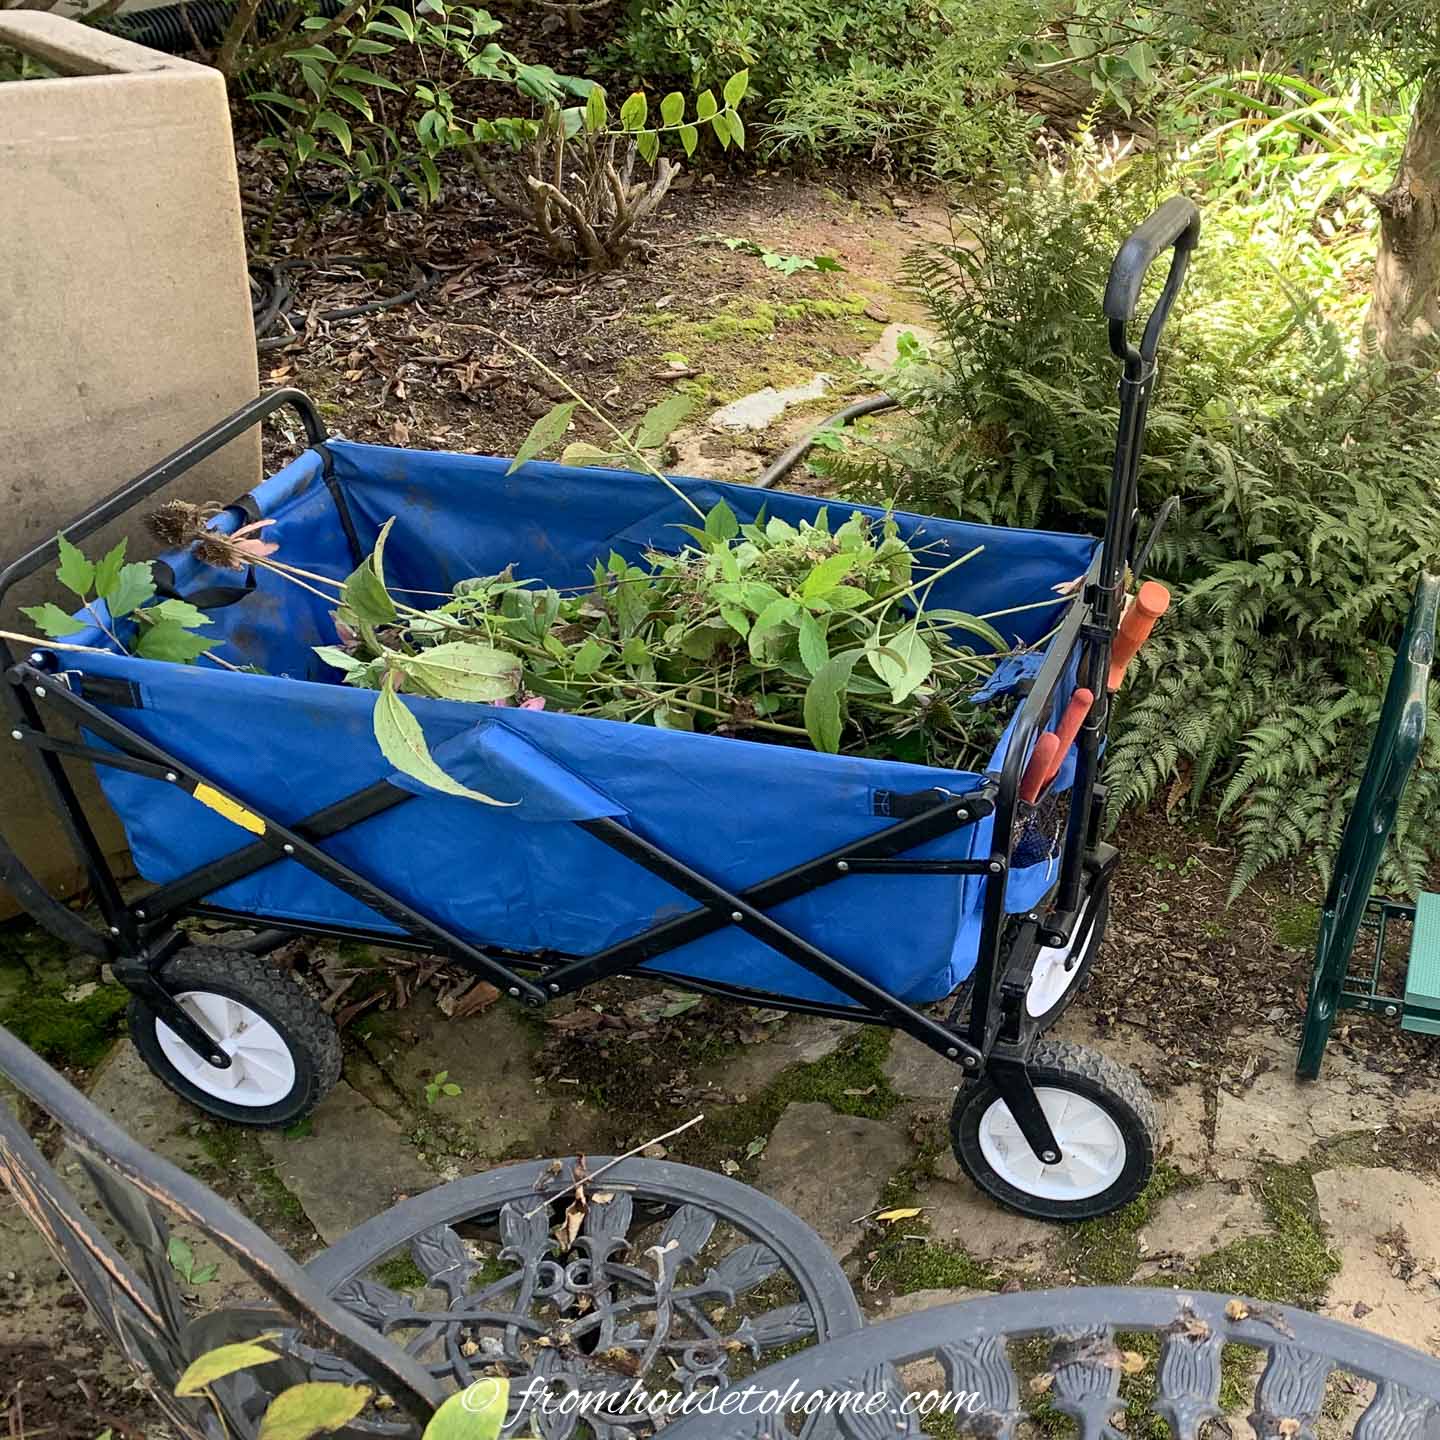
Just like other DIY projects, having the right tools will make any job easier.
And gardening is no different.
Having the right kind of shovel, ratchet pruners, a 2-wheeled wheelbarrow (or fold-up wagon) and a pop-up garbage will make getting your gardening tasks easier.
(Check back next week for a list of all of my favorite time-saving tools).
11 | Mulch
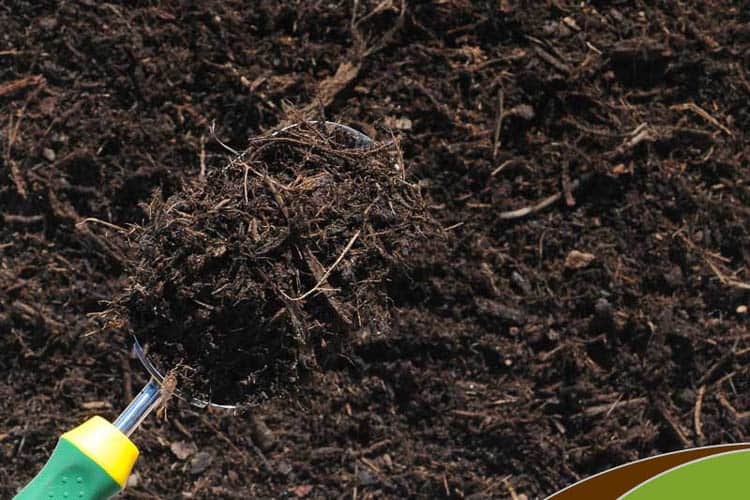
A 2″ to 3″ layer of mulch over all of your garden beds is a low-maintenance gardener’s best friend!
Not only does it make your garden beds look neater, it keeps water from evaporating (= less watering), keeps the weeds down (= less weeding), and regulates the soil temperature (= happier plants)
If you buy an organic mulch that breaks down, you will also get an extra benefit.
The mulch will help to improve the condition of the soil as it disintegrates. Buy ground bark or hardwood mulch if you want to have this added benefit.
One thing to watch out for: If you live in an area with termites, don’t let the mulch pile up over the top of your house foundation. Because it keeps the ground moist and cool, it also provides good cover for these pests. So make sure that there is at least 6″ between the top of your mulch layer and the bottom of your siding.
12 | Schedule Watering
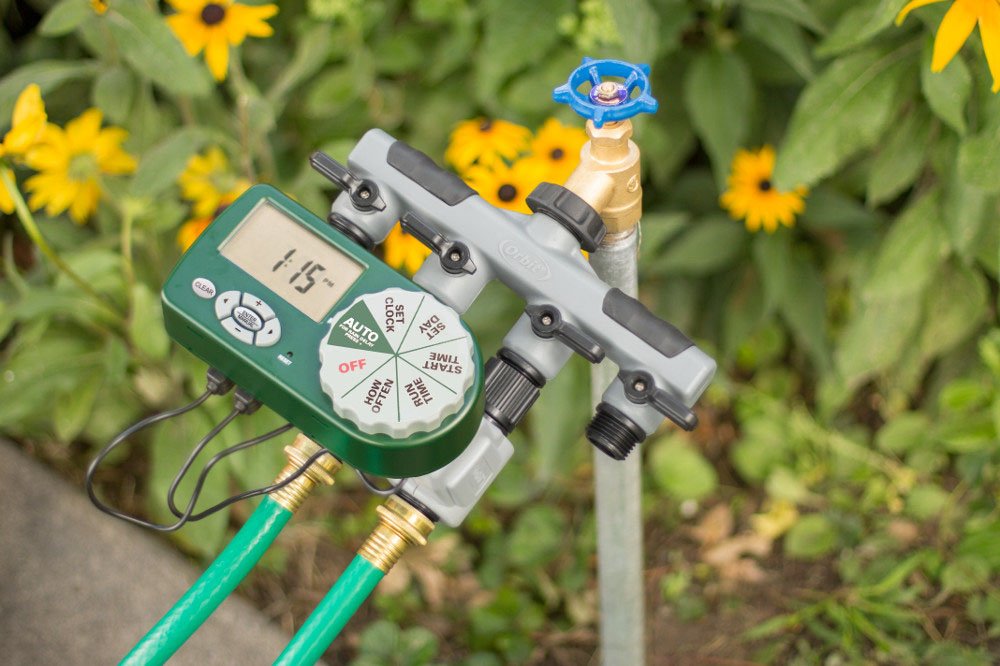
Creating your own automated watering system is a great gardening time saver.
You can buy watering timers* that aren’t very expensive and hook to standard hoses.
Set them up to turn on automatically a couple of times per week and your garden will thrive all summer…with no extra work for you!
It takes a little time to get your system set up at the beginning of the season.
But once it’s in place, watering is one less gardening activity you have to think about.
If you live in a fairly warm climate (like I do in South Carolina), you can leave the hoses in place all year round. In colder climates, the hoses last longer if you take them during the winter.
I do disconnect the timers and bring them in over the winter. They tend to break if they freeze.
Find out how to install your own soaker hose system HERE.
13 | Build Raised Beds
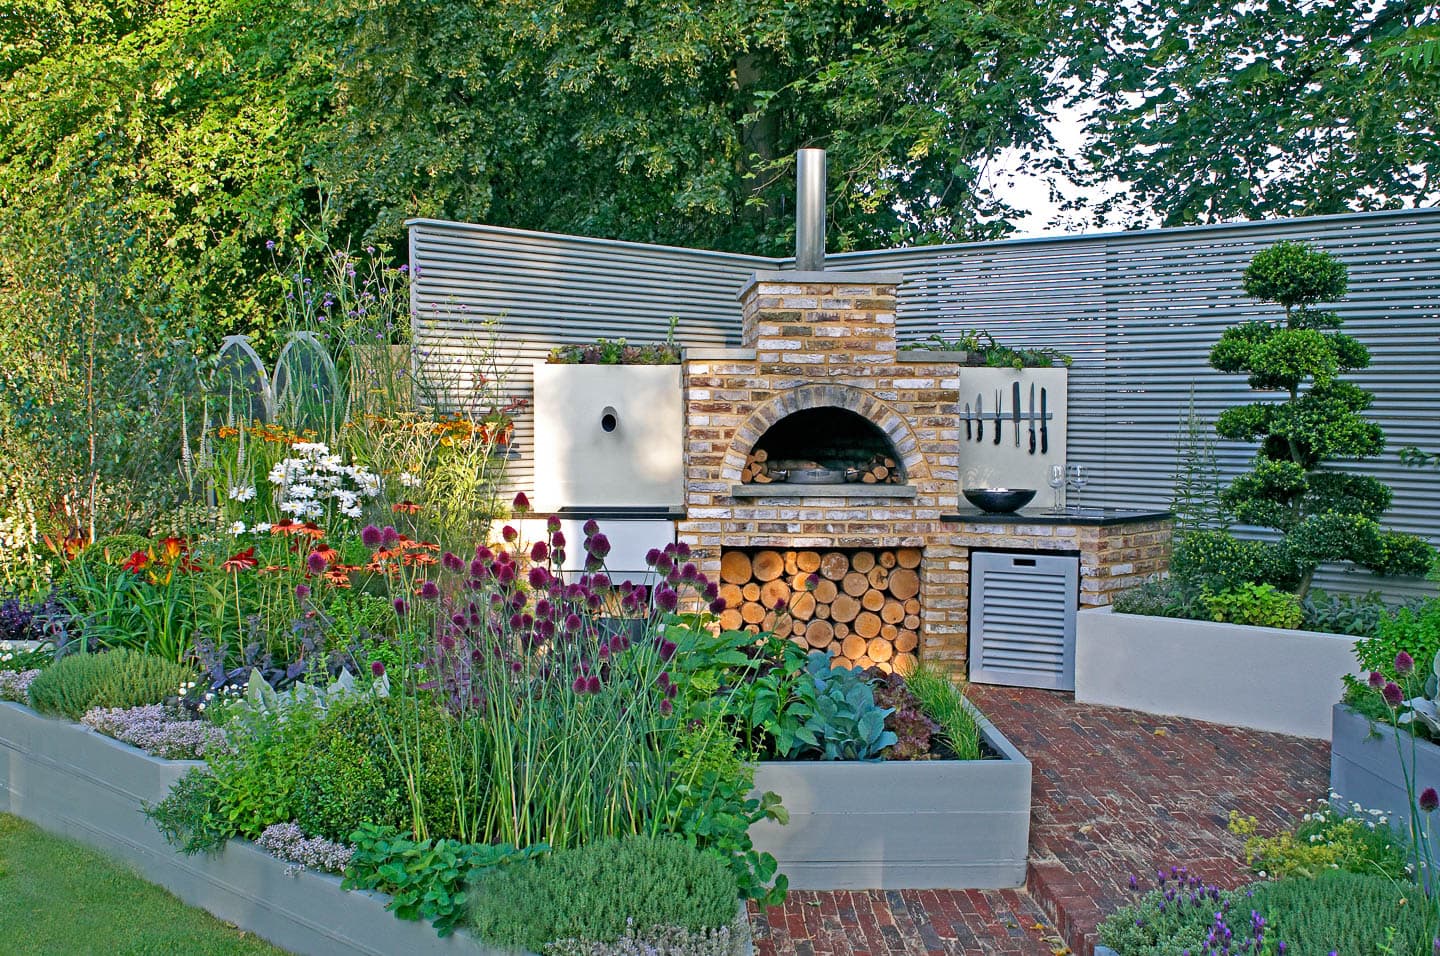
If you don’t want to do dig garden beds, or bend down to pull weeds, you might want to consider putting in some raised beds.
While they are often used for growing vegetables, you can also plant perennials, shrubs and other flowers in them.
Since you fill them up yourself, you can put in the correct mixture for what you’re growing. Which means you don’t have to worry about digging, how wet or dry the location is, or what the original soil pH is.
And you don’t have to bend down so far to tend them. So maintenance like mulching and pulling up any weeds is easier, too.
14 | Avoid Invasive Plants
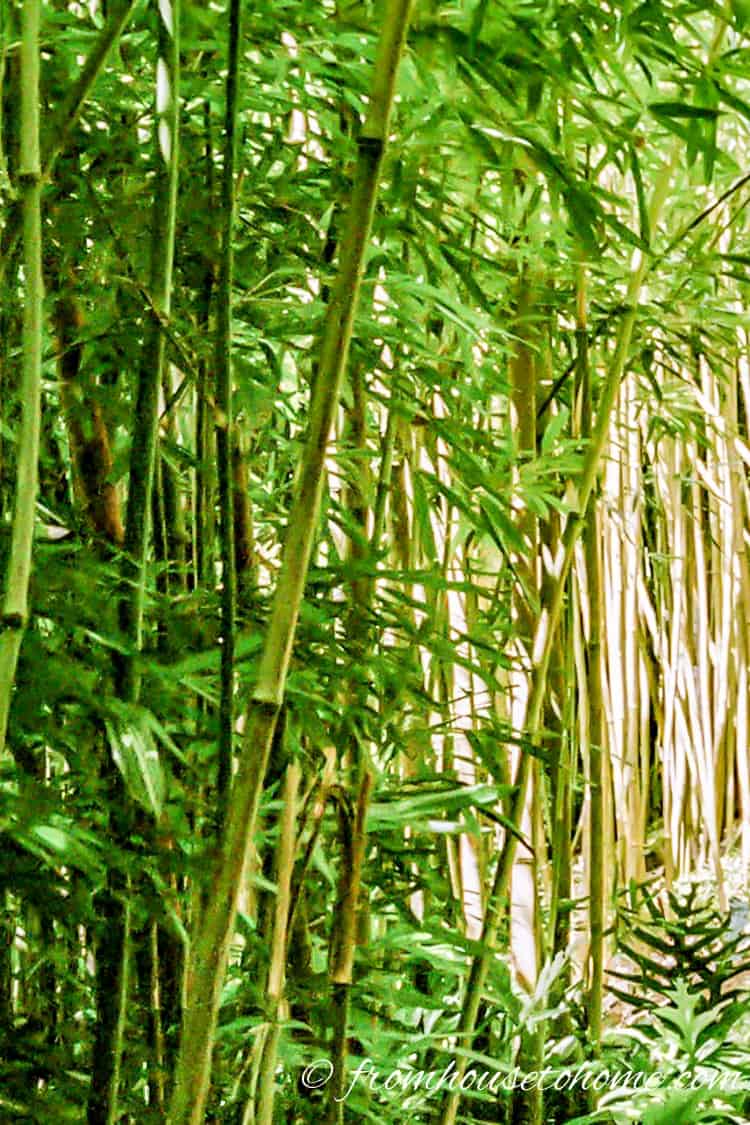
For this tip, you will need to do a little research on your plants before you buy them (you can find more information on invasive plants HERE).
There are a lot of very pretty plants that are very invasive (like the bamboo above).
If you plant them in your garden, you will be trying to get rid of them for years to come.
The easiest way to avoid all of this extra work is not to plant them in the first place.
15 | Use Man Made Materials
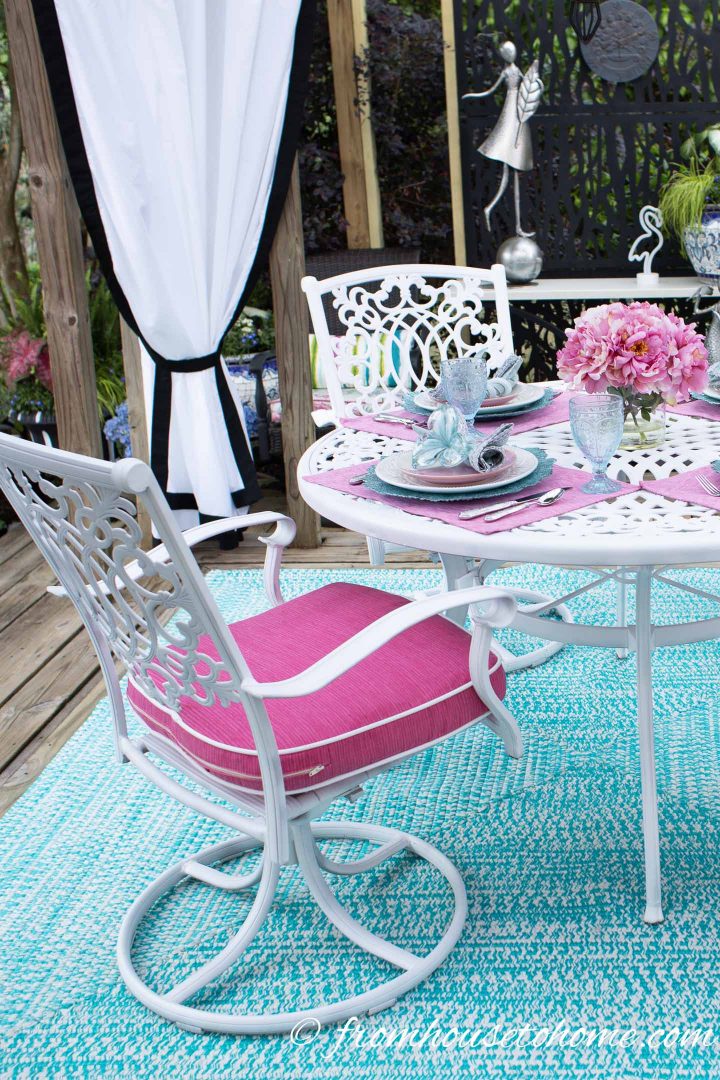
As much as I love using natural materials for outdoor furniture and decks, the man made alternatives are much less work.
These stamped aluminum chairs and table have been outside year-round for more than 19 years, and are still going strong.
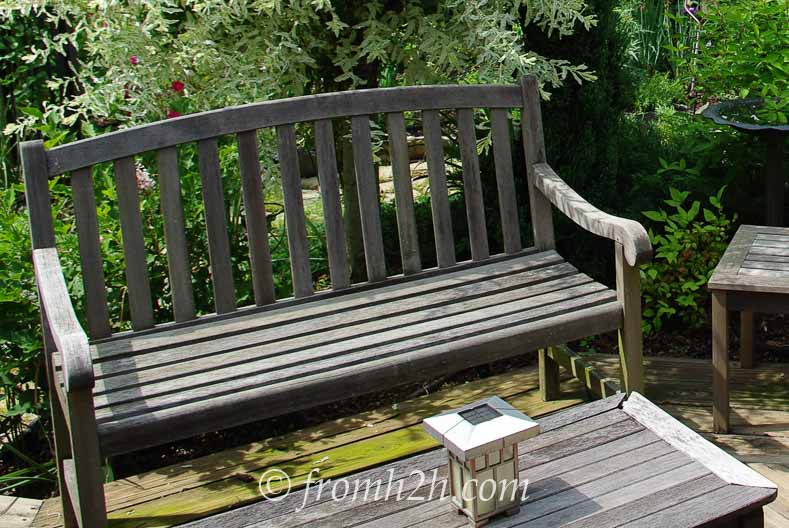
This wood bench started to show its age after about 5 years (it’s not as sturdy as it used to be), and requires an annual coating with teak oil.
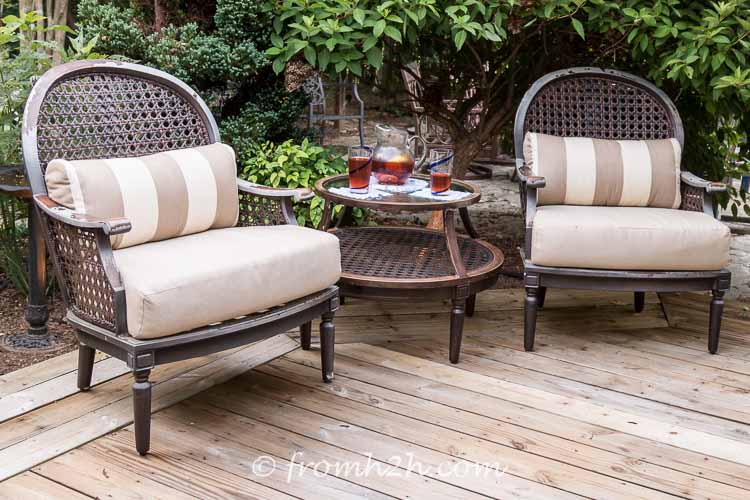
Real wicker furniture disintegrates really quickly when it is used outdoors.
Whereas the man-made resin version (like these chairs and side table) lasts for years.
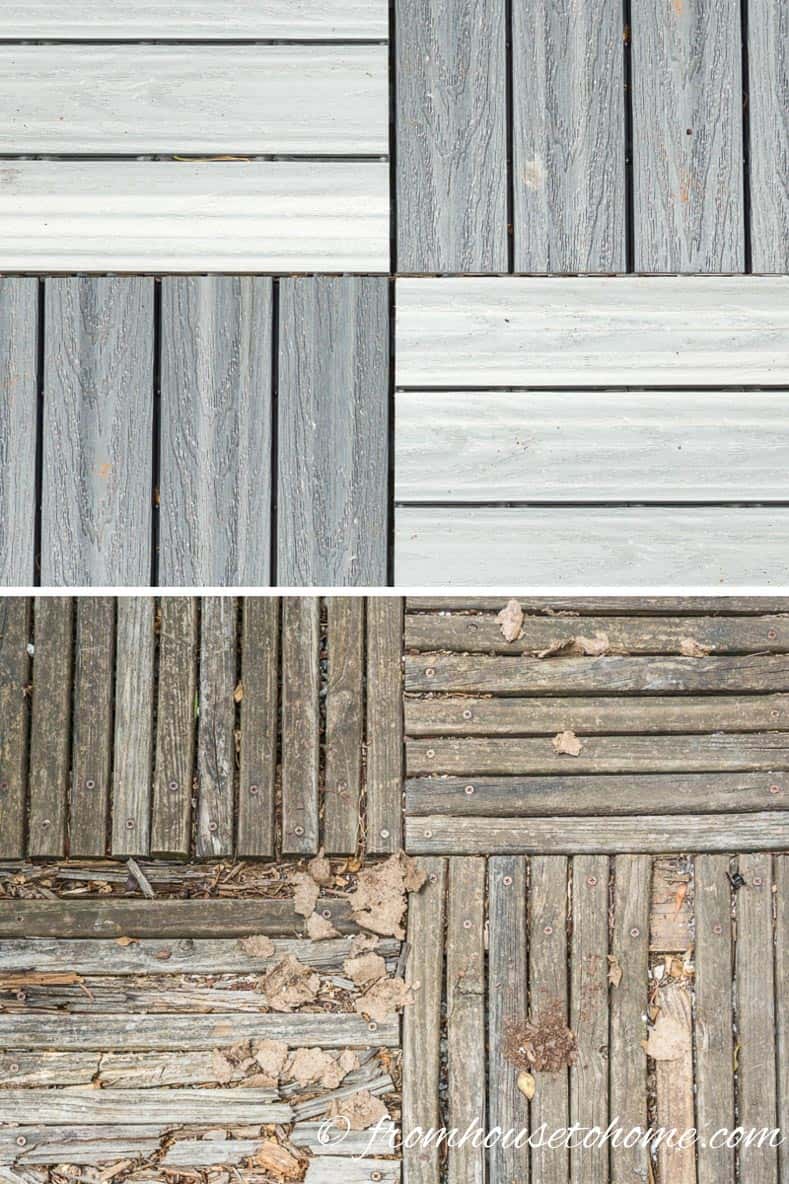
Wood decks need to be cleaned and waterproofed. And they start to fall apart after a few years.
Decks made of composite materials still need to be washed occasionally. But blasting them with a pressure washer makes quick work of that. And they last much longer than wood.
Same goes for these man-made deck tiles when compared to their wood counterparts.
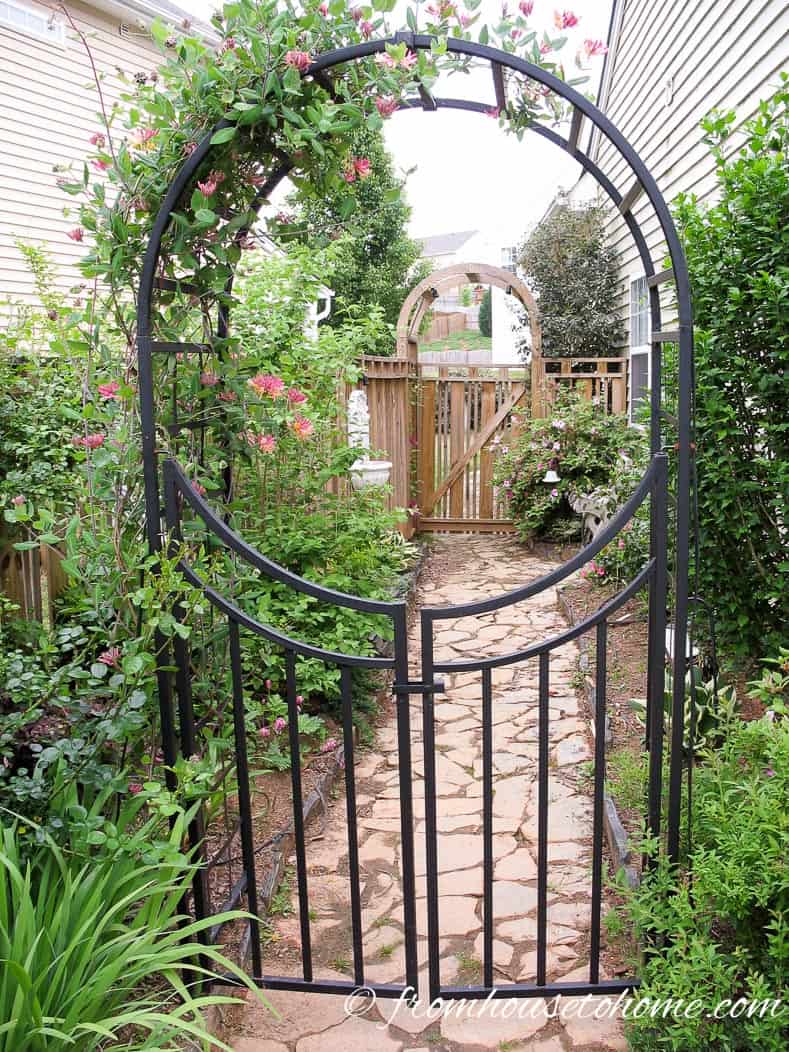
Wrought iron arbors and trellises rust and need to be maintained regularly.
This (relatively expensive, “rust-resistant”) arbor looks very pretty over my side walkway.
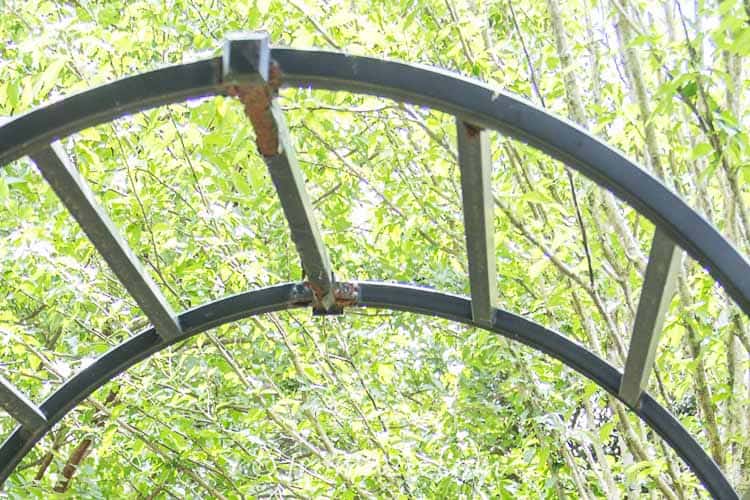
But after a couple of years, it still developed rust spots that have to be sanded and painted pretty much every year.
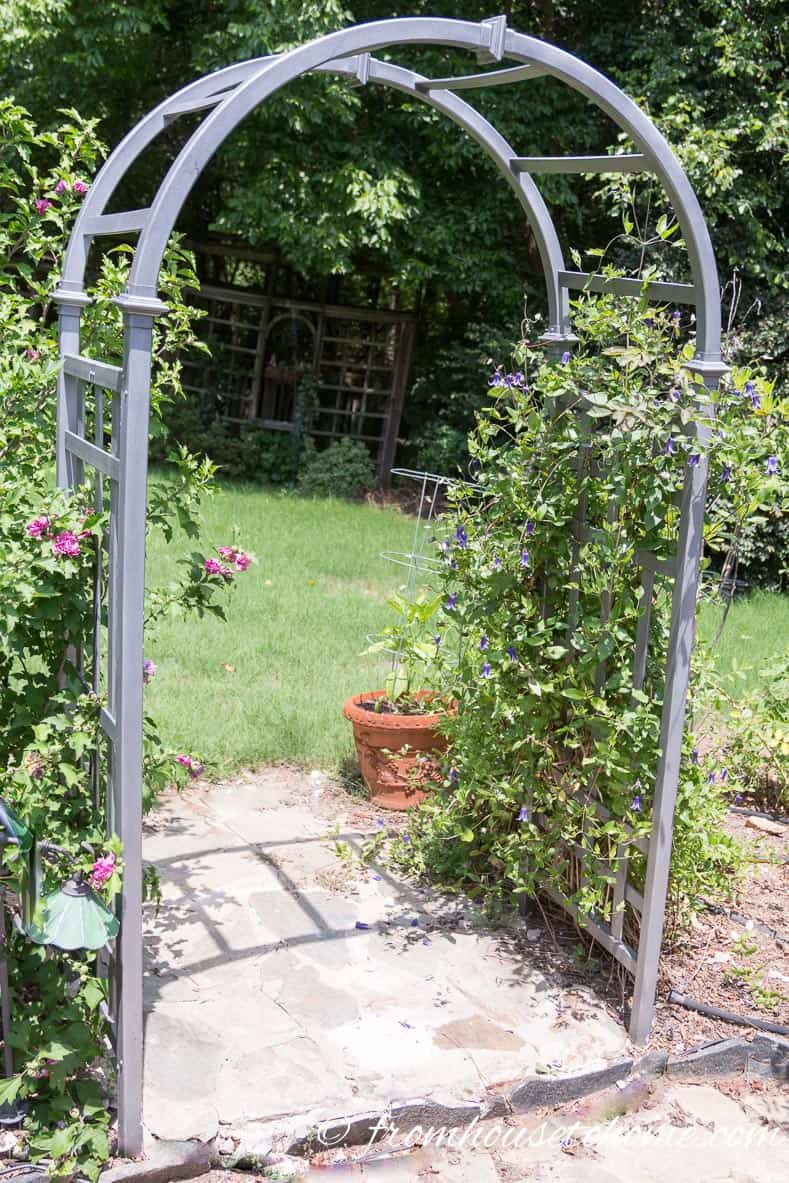
Rust isn’t an issue for resin arbors, like this one.
I didn’t like the white color, so we spray painted it with hammered silver spray paint* to make it look like metal.

